
How to Repair a Chipped or Cracked Windshield?
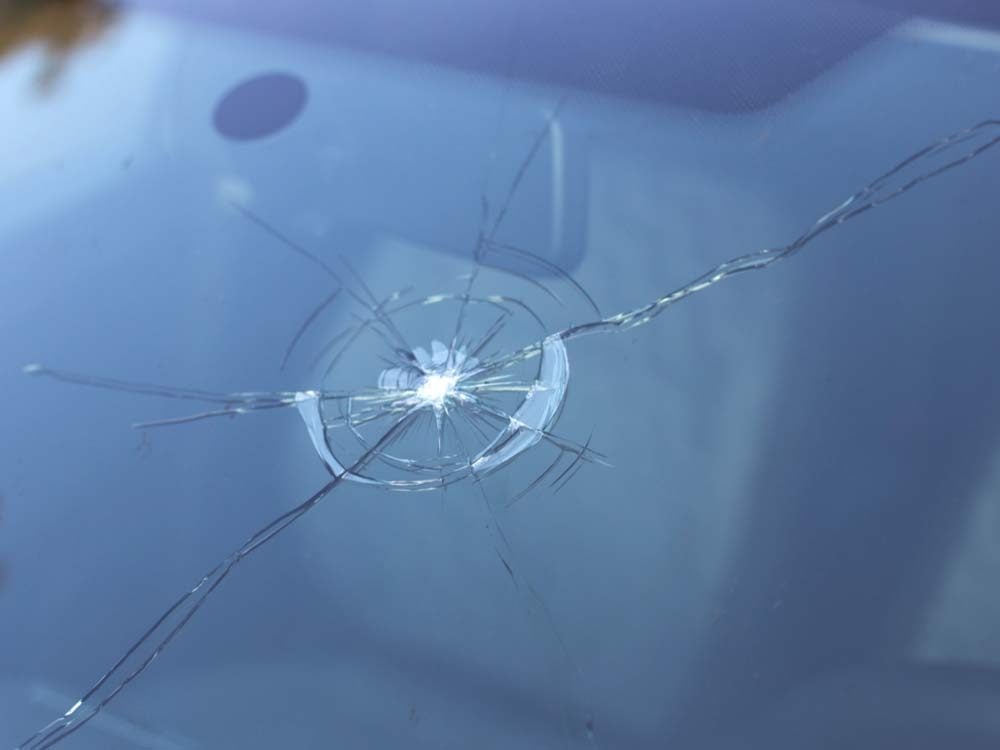
If you are in the early stages of a chip or crack, there is a chance this damage can be repaired. Chips and cracks smaller than 6 inches (15 centimeters) are easier to fix. It's important that you fix the damage right away before it starts spreading or gets worse. If your windshield has spiderwebs or other cracking on more than just the surface, then your best bet is to get it replaced. A new windshield will offer better visibility for driver safety, so contact us at Quick Roadside Service to get things taken care of right away if needed!
Chip repair is only available for chips that are no larger than 6 inches (15 centimeters).
You can find a chip or a crack in your windshield by looking very carefully around the edge of the windshield to see if you notice any damage. If you have a magnifying glass, it will help you inspect your windshield more closely without having to get too close and possibly damage your eyes. This method may take time depending on how far away from the center of the windshield you are. In some cases, drivers discover cracks while washing their cars. In fact, one survey suggested that nearly 50% of chipped or cracked windshields were discovered this way.
The quick test is to hold a quarter up to the corner of your windshield. If the quarter sticks to the glass, then you have cracks on more than just the surface.
How to repair a chipped or cracked windshield?
If there are any chips, use an eyeglass repair kit's resin glue to seal up the damage. A cheap kit can be found at any store that sells glasses and sunglasses. Look for kits with UV protection for outdoor mirrors. To keep dust out of the glue, it should be applied in a shaded spot outside where airflow is possible but not windy. Using a small brush provided in most glasses repair kits, gently paint resin onto both surfaces of the chip or crack. When you're done applying, try to buff out excess residue because this will make it harder for the resin to dry.
After you repair a chip, continue to watch it closely over the next few weeks. Many times a cloud will form around a chipped area if moisture gets in between the glass and spreads out from there. If you see clouds forming, that means your windshield needs to be replaced because water can corrode metal or even worse, seep into your car's cabin where it could affect electrical components.
How long should I wait before repairing it?
Most people try to fix chips right away so they don't spread any further across the windshield. However, others have been known to use quick-drying glue designed for eyeglasses on their windshields [3]. The big drawback of this method is that it can't be used on a windshield if the car is going over 10 mph (16 km/h). It's also a good idea to fix cracks and chips as soon as possible since they spread so easily.
However, if you have a chip or crack that is growing larger, it will be harder to repair.
Repairing a windshield with a kit from the inside of your car: As long as there's room for movement, you should only have one person on this job because two people might get in each other's way. If you can't reach all the way across the glass to apply the resin glue, then enlist some help from another passenger [4]. The only supplies needed are the glasses repair kit and a squeegee — everything else is included in most kits [5]. Follow these steps:
1) Clean both surfaces: Wipe off any dust particles and dirt with an alcohol wipe and allow it to dry naturally (do not rub). Then wipe off the area around the chip or crack using a dry, lint-free cloth.
2) Apply the resin: Use the squeegee and place it over the damaged area. Next, apply enough glue on top of both surfaces to cover them completely. If your kit is like most on the market these days, there will be polishing powder included that can help you buff out excess resin once it's cured (which takes roughly 10 minutes) [6]. Remember to keep airflow moving while gluing so dust doesn't get trapped between your windshield and repair kit.
3) Finish applying: Make sure both sides are covered evenly before removing any extra residue with a moist towel wrapped around the fingertip or an artist's brush. Allow it to cure for 10 minutes, then clean away any extra resin on the windshield's surface with a dry towel or sponge.
4) Have someone look at your work: Before being allowed back behind the wheel, have an extremely critical friend check your repair for flaws. If anyone notices your windshield isn't completely smooth, you'll need to repeat this process until you can pass inspection.
Tampa, FL